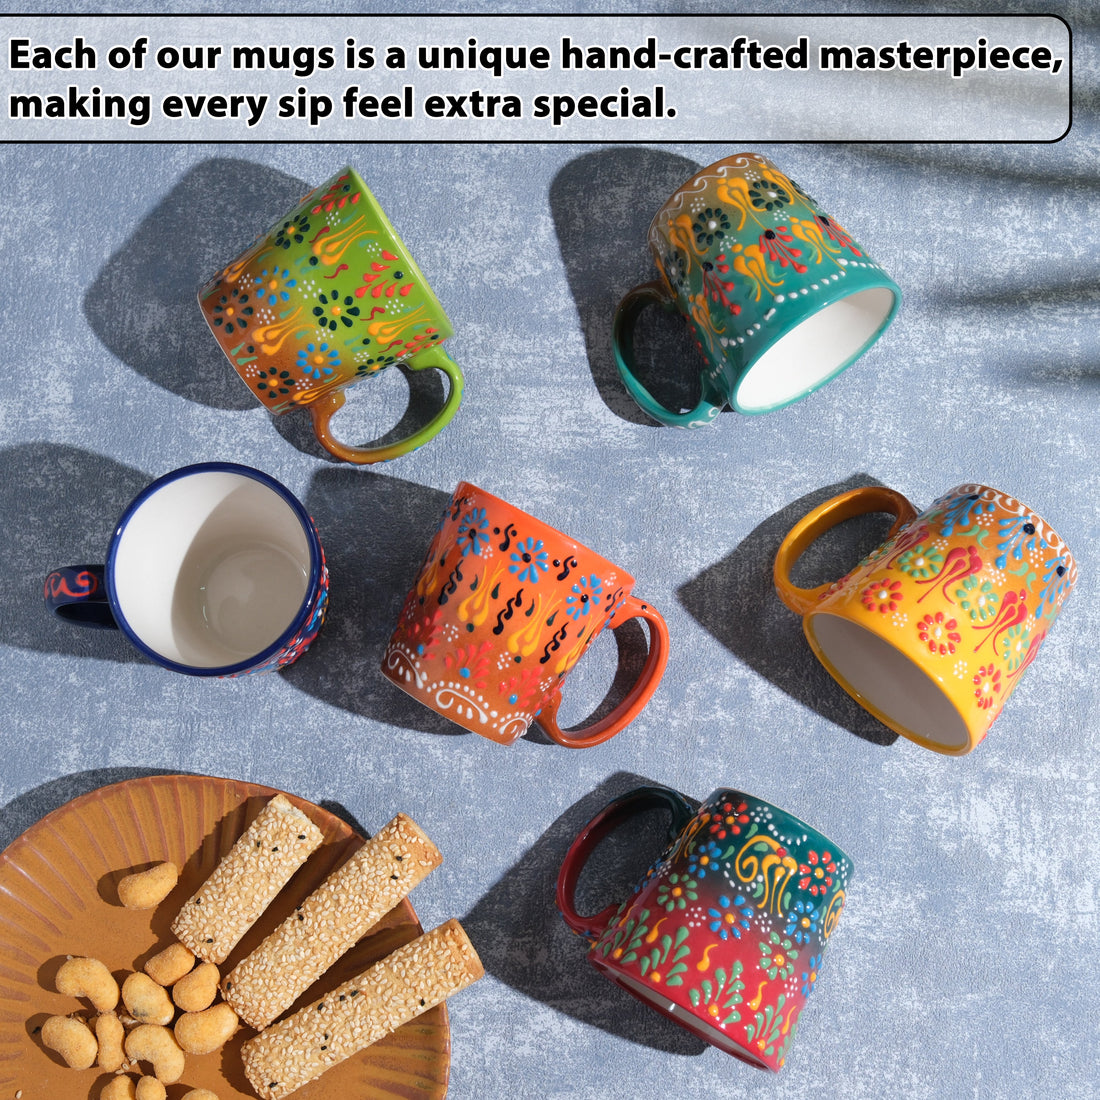
How to Make Your Own Ceramic Mug: A Step-by-Step Guide
Ever wished you could sip your morning coffee from a mug you designed yourself? Creating your own ceramic mug is an incredibly rewarding experience. While it may seem daunting, with a few simple steps and either access to a pottery studio or the right at-home materials, you can craft a unique piece that is perfectly tailored to your style. This DIY ceramic project connects you directly to the art of pottery and leaves you with a treasured, functional item.

Getting Started: Tools and Techniques
Before you begin, decide on your approach—hand-building (using hands and simple tools) or wheel-throwing.
For Hand-Building (Coil or Slab Method)
This is the easiest method for beginners. You'll need clay, a rolling pin, a knife, and slip (clay mixed with water to act as glue). The coil method involves stacking and blending clay ropes, while the slab method uses flat pieces of clay.
For Wheel-Throwing
This requires a potter’s wheel and basic wheel-throwing tools. While more challenging, it allows for more symmetrical and refined shapes.

The Step-by-Step Creation Process
No matter the technique, the core stages of making your handmade coffee cup are the same.
Step 1: Shape the Body
-
Hand-Building: Roll out a slab of clay for the mug's wall and another for the bottom. Attach them securely with slip and blend the seams smooth.
-
Wheel-Throwing: Center a lump of clay on the wheel, open it up, and pull the walls up to form the mug's cylinder shape.
Step 2: Drying (Leather-Hard Stage)
Let the mug dry until it's firm but still workable. This is the "leather-hard" stage—perfect for adding a handle.
Step 3: Attach the Handle
Roll or pull a strip of clay for the handle. Score (scratch) both the handle ends and the attachment points on the mug. Apply slip to both scored areas, press firmly together, and smooth the join.
Step 4: The Finishing Touches
Once completely dry (bone dry), the mug is ready for its first firing (bisque firing). After bisque, apply your favorite glaze and fire it again (glaze firing) to make it food-safe and shiny.

Customizing Your Mug Design
Glaze Choices:
Experiment with dipping the mug in different glazes or hand-painting unique patterns for a truly personalized look.
Carving and Textures:
Use tools to carve designs into the clay at the leather-hard stage, adding a unique texture or personalized message.
Enjoy Your Unique Creation
The process of making your own unique mug is as rewarding as the final product. It's a daily reminder of your creativity and a great way to start your day with a truly personal touch.
