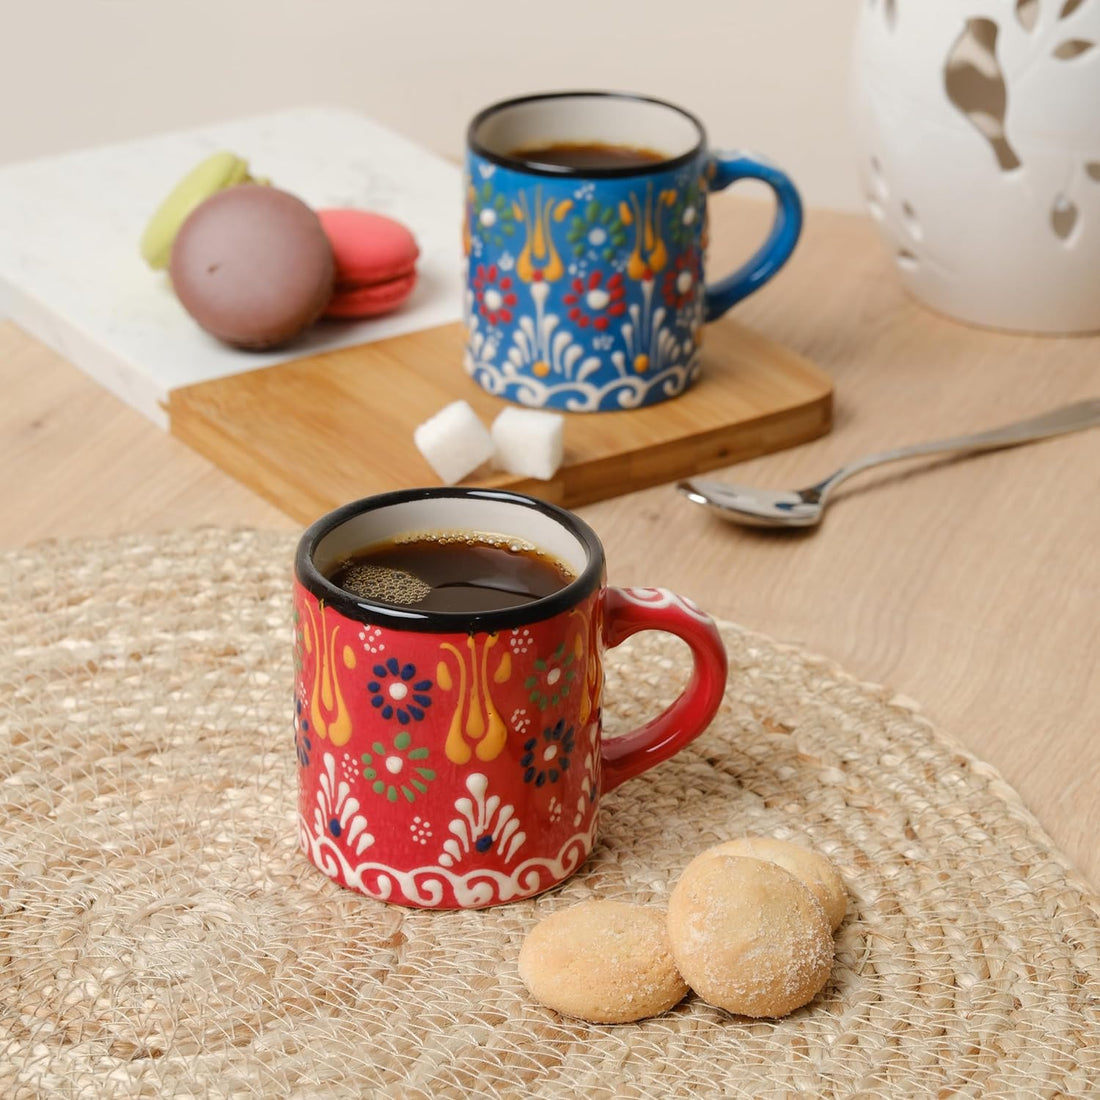
DIY Ceramic Coasters: A Fun and Easy Project
Looking for a fun and creative project to do at home? Making your own DIY ceramic coasters is a fantastic way to unleash your inner artist without needing a pottery studio or expensive equipment. This simple project is perfect for a weekend afternoon, allowing you to create personalized, functional pieces that protect your furniture and add a unique, handmade touch to your home decor.

Why You Should Make Your Own Coasters
Crafting your own coasters is a rewarding experience with several benefits.
Complete Creative Control
You get to choose the colors, patterns, and shapes that perfectly match your style. Whether you want a minimalist design, a vibrant geometric pattern, or a rustic, earthy look, the creative possibilities are endless.
A Perfect Personalized Gift
Handmade coasters make a wonderful and thoughtful gift. You can create a set with a specific theme or design that is tailored to the recipient's personality, making it a unique and memorable present.

What You'll Need to Get Started
You don't need much to begin this project. Here's a list of basic supplies.
Supplies:
- Unglazed ceramic tiles or blanks: These can be found at most craft stores or online.
-
Acrylic paints or ceramic paints: Choose colors that match your decor.
-
Paintbrushes: A variety of sizes for different details.
-
Clear sealant or varnish: To protect the design and make the coasters waterproof.
-
Felt pads: To stick on the bottom of the coasters to prevent scratching surfaces.

Step-by-Step Guide to Making Your Coasters
Follow these simple steps to create your custom coasters.
Step 1: Prepare Your Surface.
Make sure your ceramic tiles are clean and dry. Lightly sand them if necessary to ensure the paint adheres properly.
Step 2: Get Creative with Paint.
This is the fun part! Start with a base coat, then add your design. You can use stencils, tape for clean lines, or just freehand your design. Don't be afraid to experiment with different patterns and colors.
Step 3: Seal and Protect.
Once your paint is completely dry, apply a clear sealant or varnish. This step is crucial for making the coasters waterproof and durable. Apply two to three thin coats for the best results, allowing each coat to dry completely.
Step 4: Add the Finishing Touch.
Flip the coasters over and apply small felt pads to each corner. This will protect your furniture from scratches and keep the coasters from sliding.
Enjoy Your New Handmade Decor!
You now have a beautiful set of DIY ceramic coasters that you made yourself. Place them on your coffee table, nightstand, or give them away as a heartfelt gift. This project is a great way to bring a little bit of your own creativity into your home.
